
Know the device before you plug it in.
Prepare a vehicle for a supported OBD ELD or camera without guessing the port, adapter, wiring, or activation sequence.
1 Identify the exact hardware
Record the manufacturer, model, serial or device ID, supplied adapter or harness, and the vehicle it will serve. If any item is unknown, stop before connecting power.
2 Open the correct vehicle in LBC Fleet
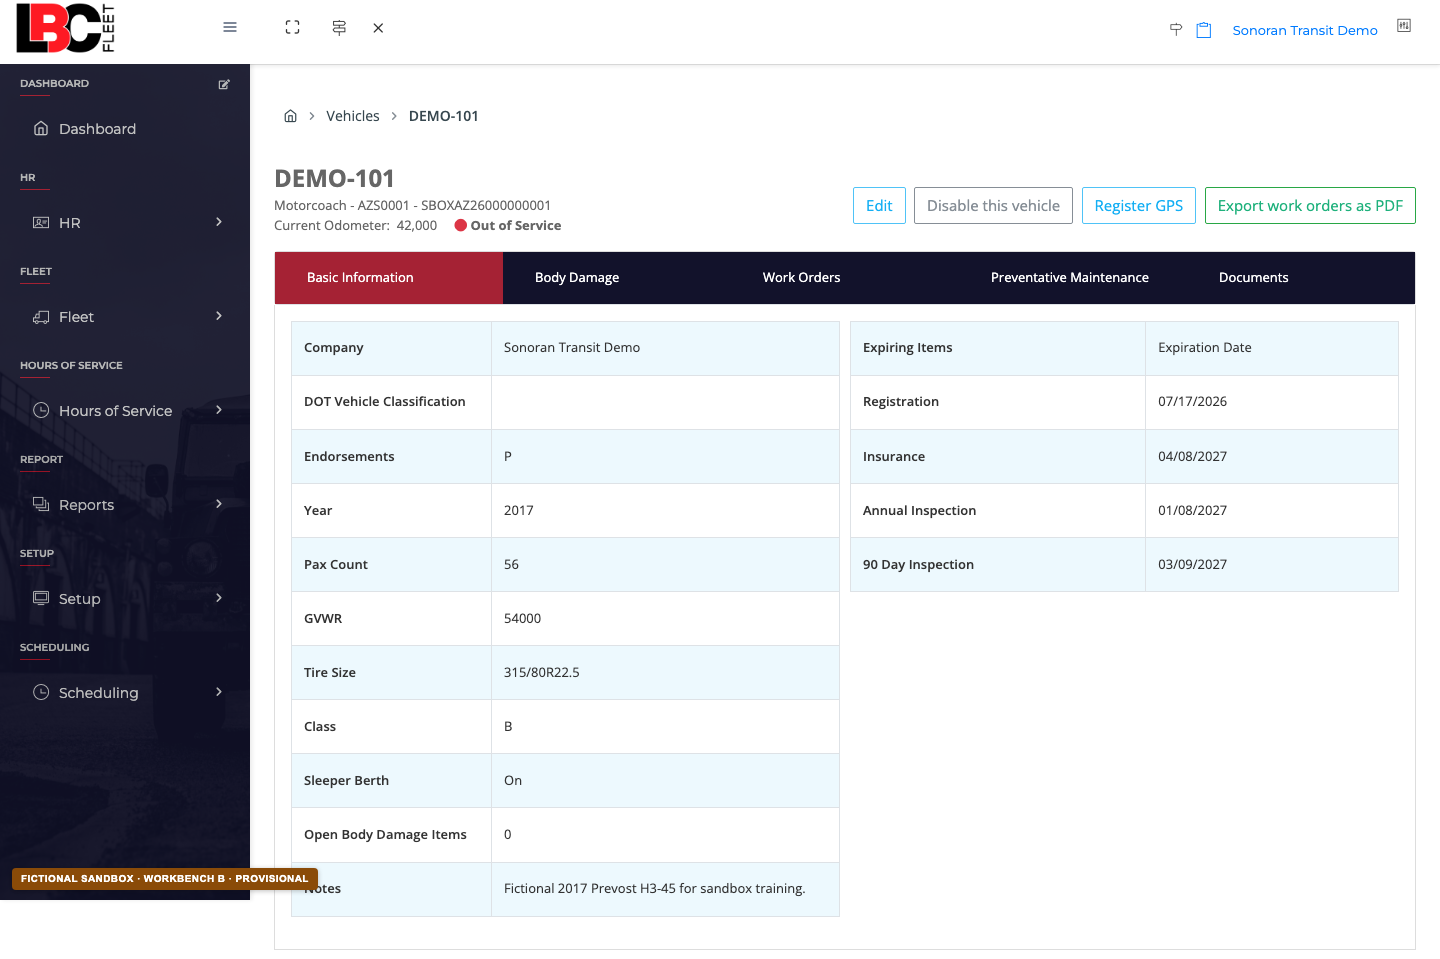
In the office web application, open Fleet → Vehicles, select the vehicle, and confirm its identity. The current vehicle page provides Register GPS; hardware registration is an office workflow, not a Driver App plug-in screen.
3 Match the device to the vehicle
Use the device identifier requested by the approved LBC workflow. Check every character before saving. Never reuse a real customer VIN, serial number, or account identifier in training material.
4 Follow the model-specific install instructions
Use the exact manufacturer manual for port location, adapter selection, power state, cable routing, camera placement, and indicator meanings. Use a qualified installer whenever the manufacturer or fleet policy requires one.
5 Verify before driving
Confirm the registered vehicle and device ID match, the hardware reports its manufacturer-defined ready state, and the Driver App is signed in to the correct driver and vehicle. Do not treat a light, local record, or network response alone as proof of ELD compliance or data delivery.
 Open full-size screenshot ↗
Connect, verify, or stop?
Ready to continue
Exact model, approved hardware, correct vehicle, device ID, adapter, and manufacturer instructions all agree.
Verify first
The device is recognized, but its assigned vehicle, registration state, or installer requirement is unclear.
Stop
Unknown model, damaged connector, missing adapter, conflicting IDs, unsupported hardware, exposed wiring, or instructions that do not match the vehicle.